










Since even the highest-quality ball valves experience wear from continuous operation, ball valve replacement and a rigorous maintenance schedule minimize safety hazards and costly repairs. This step-by-step guide tackles how to identify common problems, understand common causes of failure, perform a safe part replacement, and test the new unit.
Ball Valve Troubleshooting: Signs of Failure
External Leakage
Monitor the area around the stem or packing box for any fugitive emissions. Elastomers deteriorate from aging, chemical exposure, or extreme temperatures. Loose gland bolts and incorrect stress may also cause fluid to escape. Sniffing procedures are often implemented through portable monitoring devices to detect leakage.
High Friction and Stiff Handle
Excessive friction or ‘stiction’ usually makes valve handles increasingly difficult to operate. Factory-applied lubrication gradually wears away during frequent use, while seat loads designed for tight shutoff naturally create resistance. Contamination and corrosion also contribute to operating torque, making valves difficult to close or open.
Internal Leakage
This happens when the ball and seats no longer form a tight seal, allowing clearance flow. This is where fluid passes through the valve even when the closure component is supposed to be fully seated. This may be detected through pressure drops, reduced isolation performance, or specialized acoustic testing equipment.
Before ball valve troubleshooting, correctly identify each component with our Ball Valve Diagram Guide to locate the stem, seat ring, packing flange, and ball assembly.
Common Causes of Ball Valve Failure
Seat Wear and Degradation
Seating surfaces naturally weaken from continuous mechanical stress during opening, closing, and pressure cycles. Manufacturer-applied lubricants are worn off after a few hundred cycles, potentially increasing friction by 400%. Another contributor is erosion in cavitation and flashing service. This is where collapsing vapor bubbles and liquid droplets impact surfaces at high velocities.
Packing and Stem Corrosion
Harsh operating environments, corrosive chemicals, and moisture can attack the stem and packing assembly. Wet graphite packing in inactive valves for extended periods can expedite galvanic corrosion. Meanwhile, rust increases stiction, resulting in sticking or complete failure. Proper material selection, storage, and inspection conditions prevent or limit structural damage.
Particulate Damage
Metal chips, sand, pipe scale, rust, weld slag, and other foreign materials can be dislodged and flow through the system. As these contaminants pass through the valve, they scratch and pit the ball and seating surfaces. These particulates can also clog or plug specialized trims, impacting sealing and shutoff integrity.
Ball Valve Replacement: Safety Precautions and Essential Tools
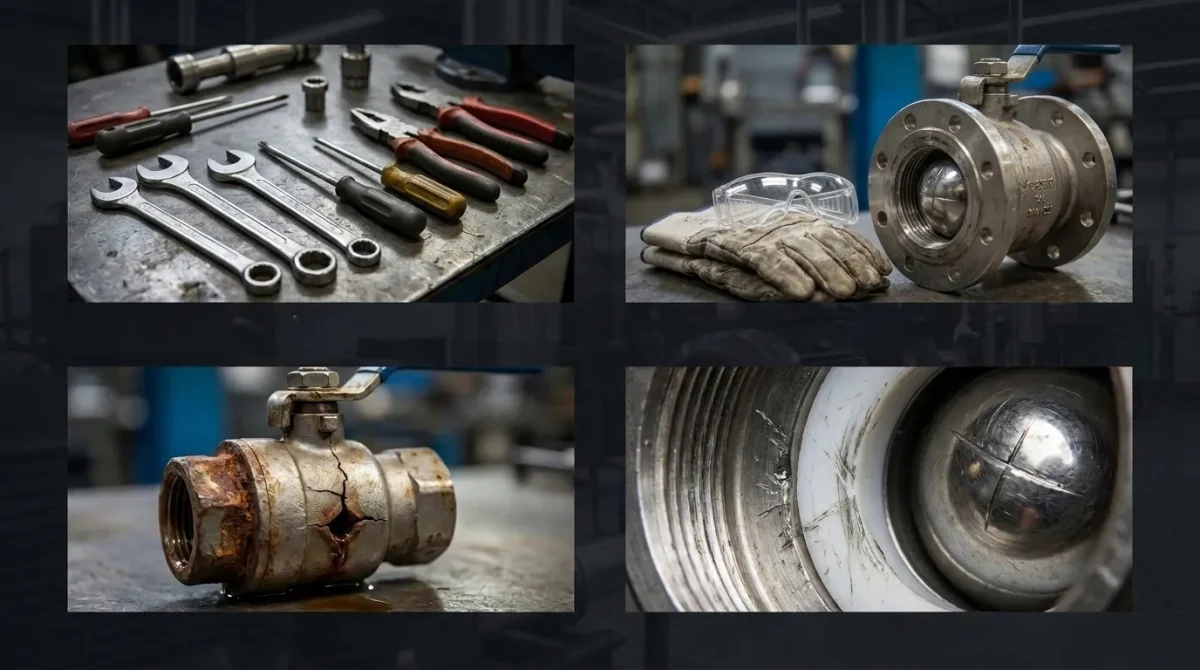
Before any replacement work begins, it is vital to:
- Isolate the ball valve from any pressure sources
- Lock out and tag out any connected equipment
- Depressurize the entire piping system
- Drain hazardous process media from pipes
- Verify zero pressure before disassembly
- Wear appropriate personal protective equipment
Failure to follow mandatory safety protocols can result in serious personal injury to maintenance personnel.
Replacement Tools and Supplies
Ensure the following tools and/or equipment are on hand before starting:
- Standard and strap wrenches
- Seat ring pullers for threaded seats
- Lapping compounds such as silicon carbide
- Cast iron ring laps for seat reconditioning
- OEM-approved lubricants, like KOPH KOTE
- Manufacturer replacement kits with gaskets and seals
- Torque wrench for bolt tightening
Cleanliness must be observed throughout the entire process. Dirt, metal shavings, and other foreign materials introduced during maintenance can immediately damage newly installed valves. Surrounding work areas must be cleaned, while exposed pipeline openings must be covered with clean cloth or tape.
Step-by-Step Process of How to Replace a Ball Valve
Step 1: Isolate And Tag
Shut down the affected section of the process stream using proper lockout and tagout procedures. Attach “Work in Progress. Do Not Start” warning tags to the starting equipment to prevent inadvertent activation during maintenance.
Step 2: Drain And Depressurize
Stop the unit, switch off the power supply, and allow the machine to cool down. Completely relieve the system of all pressure and drain all remaining hazardous process fluids. Confirm that the pressure gauges are reading zero before fasteners are loosened.
Step 3: Remove The Existing Valve
For flanged valves, loosen the bolts gradually and evenly, ensuring the valve is supported by adequate lifting equipment for its size and weight. For threaded valves, follow the procedure in How to Replace a Threaded Ball Valve, paying special attention to breaking union connections.
Step 4: Inspect The Pipeline
Check the pipe and remove any rust, welding residue, metal chips, and pipeline scale that may damage the seating surfaces. Also, inspect threaded connections and flange faces for damage and debris.
Step 5: Install The New Ball Valve
Verify the flow direction indicated on the valve body for proper orientation. For flanged valves, align flanges carefully without forcing the pipes into position. Tighten flange bolts gradually using a criss-cross sequence to prevent distortion and ensure uniform gasket loading.
Step 6: Perform Functional Testing
Cycle the valve fully open and closed, then conduct a full stroke test to verify smooth travel. Inspect for external seat leakage according to ANSI/FCI 70-2 Class VI standards for control valves, where required, and actuator operation, if applicable.
Ball Valve Maintenance Schedule
Predictive maintenance is more cost-effective than reactive maintenance or emergency repairs. Friction monitoring, deadband analysis, and smart diagnostics can identify developing issues.
- Every day, perform visual checks for external leaks and monitor abnormal operating conditions along with pressure and flow readings.
- Every three months, exercise manual valves to prevent sticking and check seat integrity, stem seals, and packing assemblies.
- Every year, schedule complete Shutdown, Turnaround, and Outage (STO) events, replace worn seals, inspect internal parts, and verify actuator calibration.
Partial Stroke Testing (PST)
Mitigate the risk of seizure between major shutdowns by using PST. This periodically moves the ball valve through a limited portion of its travel, around 10 to 30%, without disrupting the service.
The Fully Welded Ball Valve is engineered for superior performance across a wide range of industrial applications.
Explore Product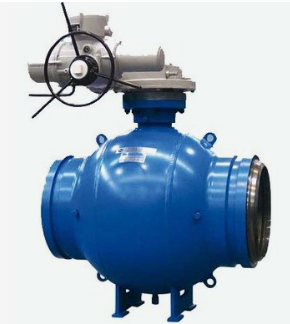
Conclusion: OEM Parts and Expert Support
Unauthorized aftermarket parts often have an improper fit, reduced sealing performance, shorter service life, and voided manufacturer warranties. Original Equipment Manufacturer (OEM) spare parts provide correctly matching seals, gaskets, packing, and other components.
Discover how dedicated manufacturers like YKY help identify early warning signs of failure and follow appropriate ball valve replacement procedures, and perform clean installation practices. We also implement structured maintenance schedules, use only OEM spare parts, and provide expert technical support.